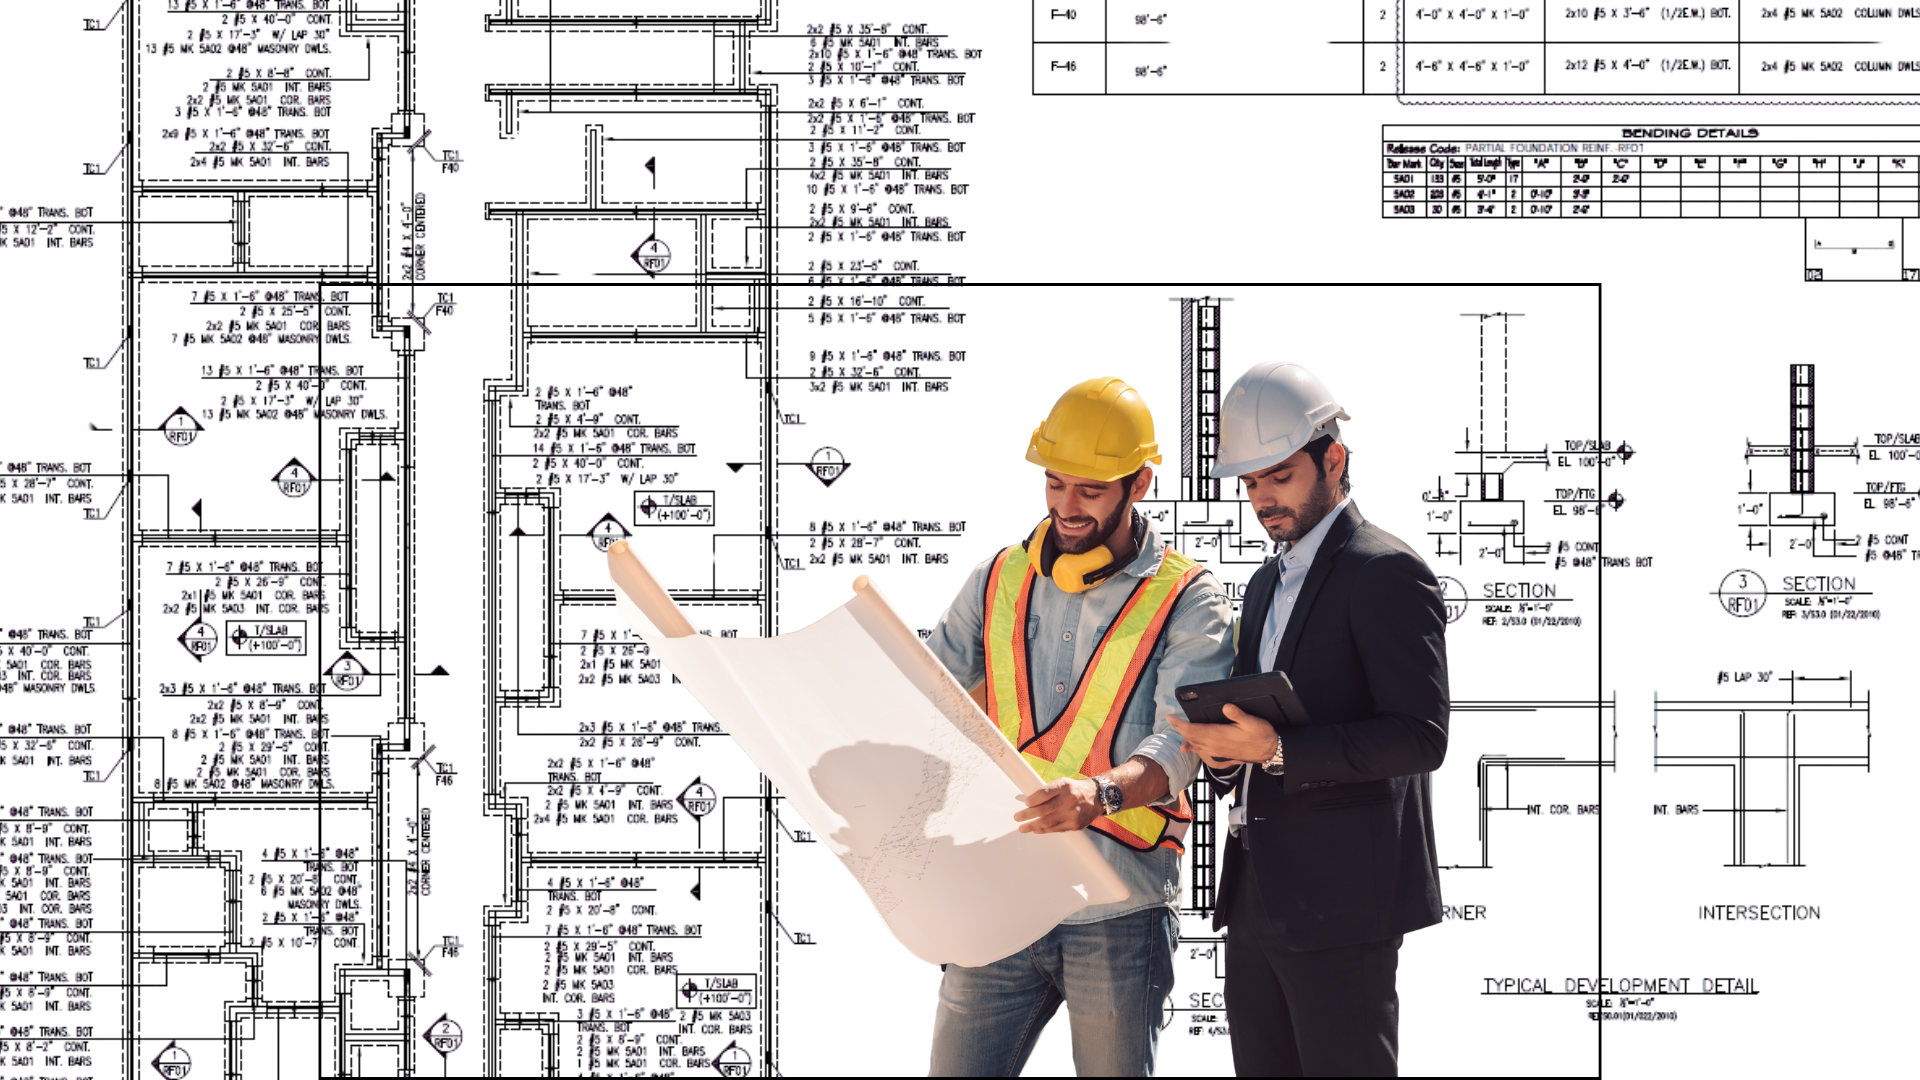
How to Read Structural Steel Drawings
Structural steel drawings are essential for anyone involved in construction or structural engineering. It provides guidance to professionals such as engineers, fabricators, and site supervisors on member sizes, connections, placements, and material specifications. Knowledge of drawings helps ensure that the structure is built safely and efficiently.
Understanding Structural Steel Drawings
Structural engineers or steel detailers prepare structural steel drawings that are categorized into two types: shop drawings and erection drawings. Shop drawings are prepared in a workshop and used in the fabrication of steel members. Whereas erection drawings act as a guide for the assembly of those steel members. Steel drawings provide important information, including sizes, shapes, locations, bolt and weld details, and how each steel member connects to others within the structure.
Reading the Title Block
The title block represents metadata of the drawings and is in the bottom-right corner of the sheet. Every drawing starts with a title block and contains key project information such as the drawing title, sheet number, revision history, scale, project name, and the name of the drafter or company responsible for the drawing. Readers quickly read the title block first to identify which part of the structure the drawing relates to and the version they are working with.
Understanding Symbols and Abbreviations
Industry-standard symbols and abbreviations are used extensively in the structural drawings. It helps in keeping drawings clean and uncluttered while representing detailed technical data. For example, “W12x26” refers to a wide flange beam that is 12 inches deep and weighs 26 pounds per foot.
Interpreting Grid Lines and Elevations
Grid lines in structural steel detailing are labeled numerically and alphabetically (like A–E and 1–5). It’s an essential element that helps users pinpoint where steel members are in plan view. In multi-story structures or sloped terrain where elevation levels are important, they are indicated by elevation levels (e.g., +12.000 or -2.500). Both grid lines and elevation are crucial for layout planning and actual erection work.
Identifying Steel Members and Labels
Each steel member in the structure—whether a beam, column, brace, or plate—is given a unique mark number or label. For example, “C3” might refer to Column 3, while “B5” refers to Beam 5. These identifiers correspond with a Bill of Materials (BOM) or material list, which provides further information on dimensions, lengths, grades, and quantities. Knowing how to identify and cross-reference these labels is vital during both fabrication and installation.
Interpreting Connection Details
Bolts, welds, or plates are important connections of steel members. These connections must be joined in a manner to ensure structural integrity of structure. . Structural steel detailing provides detailed callouts and enlarged views that often include bolt diameter and grade, spacing, edge distances, and welding types such as fillet or groove welds. It provides structure complies with design specification and built safely and efficiently.
Reading Erection Drawings
3D or plan layout is helpful in the erection of prefabricated steel components that are assembled on-site. Erection drawings help in this case and provide information on member orientation, placement, support conditions, and sequence of assembly. Drawings provide necessary information to field teams and show how all steel members are fit into the structure. In drawings, other information notes, like bracing, temporary supports, or lifting instructions, are given for safe construction.
Reviewing Notes and Revisions
Throughout the drawings, many general notes often appear in a dedicated section. Fabrication instructions, material tolerances, welding standards, or safety notices are often given in the notes. Also, it’s important to check revision blocks or clouds to check any changes from previous versions.
Cross-Referencing with Other Drawings
Steel detailing involves cross-referencing with other drawings of architectural, foundation, and MEP (mechanical, electrical, and plumbing) drawings. It provides more clarity that help in eliminating potential crashes and ensures alignment across disciplines. For instance, checking foundation drawings can confirm base plate alignment, while architectural drawings can clarify openings or cladding interference.
Contact Us
For a free quotation on your structural steel detailing project requirements, feel free to contact us or email us at RAJ@SIMSONA.COM. Our experienced team is always ready and proud to support your project with precision and professionalism.
Send Us
drawings and scope
Click the Dropbox link and send us your complete scope and drawings.
We will provide estimate in 24 to 48 hours.
FAQ’s
1. What are structural steel drawings?
Structural steel drawings are detailed technical documents that illustrate how steel components in a structure are fabricated and assembled. They include information about beams, columns, connections, dimensions, and material specifications, serving as a guide for fabricators and site engineers during construction.
2. What is the difference between structural drawings and shop drawings?
Structural drawings are prepared by structural engineers and show the design intent of the project, including load-bearing elements and overall layout. Shop drawings, on the other hand, are created by steel detailers and provide precise fabrication details such as cutting lengths, hole placements, welding, and bolt specifications required for manufacturing.
3. Why are structural steel drawings important in construction?
These drawings ensure accuracy and coordination between design and execution. They help avoid errors during fabrication and erection, reduce material wastage, and ensure that the structure meets safety and design standards. Without them, misinterpretation of design intent could lead to costly mistakes.
4. What information is typically included in structural steel drawings?
Structural steel drawings usually include general arrangement plans, section views, connection details, member sizes, material grades, welding symbols, bolt details, and erection instructions. They may also contain notes on fabrication standards and tolerances.
5. What challenges are faced when preparing structural steel drawings?
Common challenges include interpreting complex design drawings, ensuring coordination with other disciplines (like architectural and MEP), managing revisions, and maintaining accuracy in dimensions and connections. Errors in detailing can lead to fabrication issues, delays, and increased project costs.


